
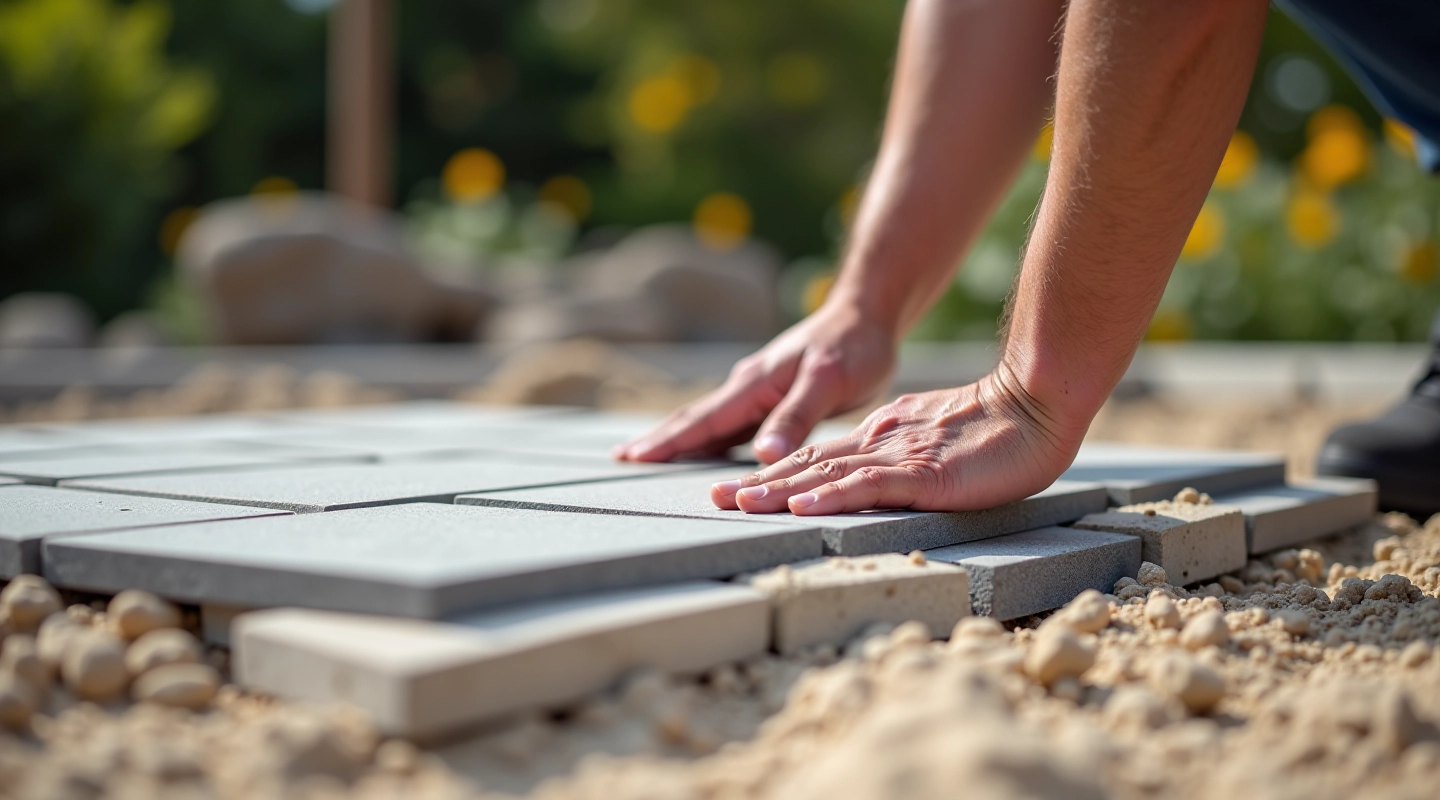
How to Prepare Your Patio Base Correctly
Step-by-step base preparation that prevents settling and uneven surfaces. Most damage starts underground.
Read ArticleWhich grout types actually survive Pärnu winters. Includes testing methods and common failures to avoid.

Author
Editorial Team
Written by the polaribell Editorial Team, focused on clear, practical guidance for stone patio projects in Northern European climates.
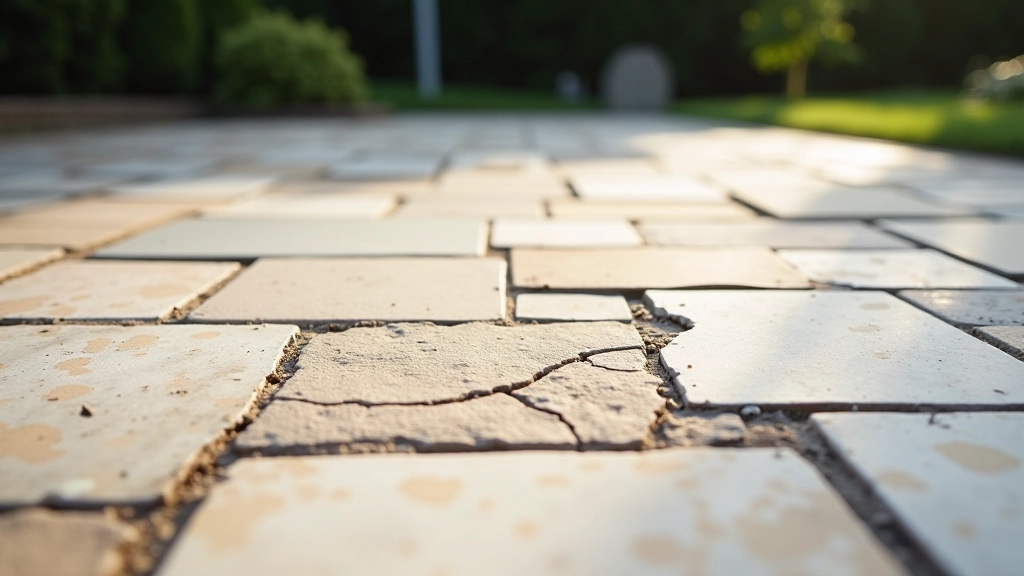
You've spent weeks laying your stone patio perfectly. The joints are clean, the levels are right, and everything looks sharp. Then winter hits — and suddenly you're seeing cracks spreading through the grout, frost heave lifting stones, or entire sections becoming unstable. It's not poor workmanship. It's the wrong grout.
In Pärnu and across the Baltic region, freeze-thaw cycles aren't occasional. They're relentless. Temperatures swing from below minus-15°C to above freezing multiple times per winter. Water gets into grout, expands when it freezes, and puts incredible pressure on the material. Standard Portland cement grout can't handle that stress. But the right frost-resistant grout will.
We're not talking about exotic products or expensive treatments. This guide covers practical grout types, testing methods you can actually do, and specific mistakes people make in Baltic climates.
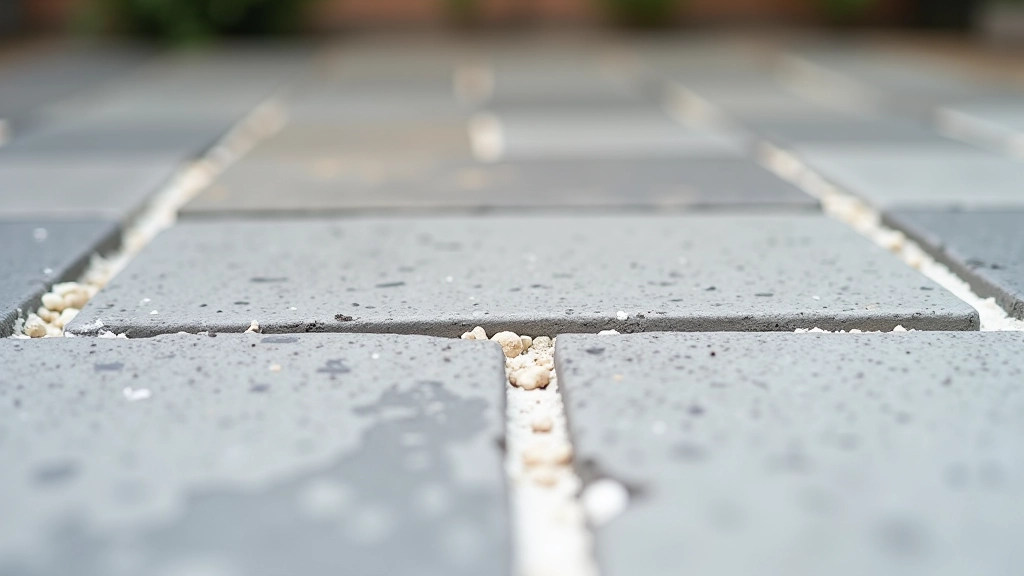
Not all grouts are created equal when winter shows up. Here's what actually works in Baltic conditions.
This is your best choice for most residential patios. It's standard Portland cement mixed with acrylic or latex polymers. The polymers fill micro-cracks before they grow, and the material flexes slightly when temperatures swing. You're looking at products rated for minus-20°C and below. Water absorption is 2-3%, which keeps freeze damage minimal. It costs maybe 20-30% more than straight cement, but it's worth every euro.
Harder, denser, and nearly impervious to water. Epoxy grout won't absorb moisture, so frost can't crack it from the inside. The downside? It's expensive, requires specific mixing and application techniques, and if you mess up the installation you're basically committed to living with it. Better for commercial work or when you want absolute certainty. Water absorption: less than 0.5%.
It's cheap and easy to apply, which is why people use it. But unsanded grout has higher water absorption (5-8%), meaning ice crystals form inside the material and expand. We've seen residential patios laid with unsanded grout that failed within two winters. Don't do this in the Baltics.
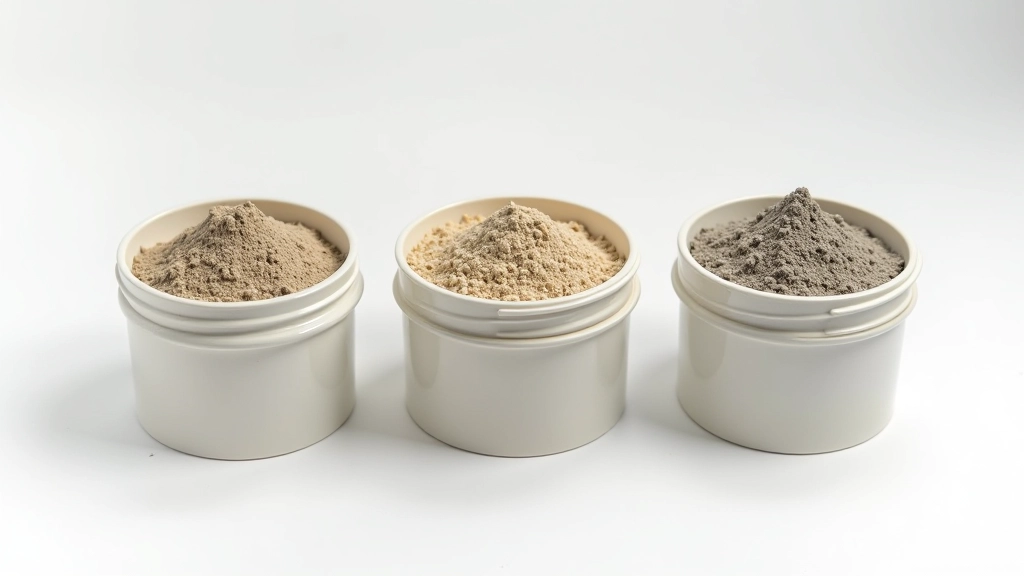
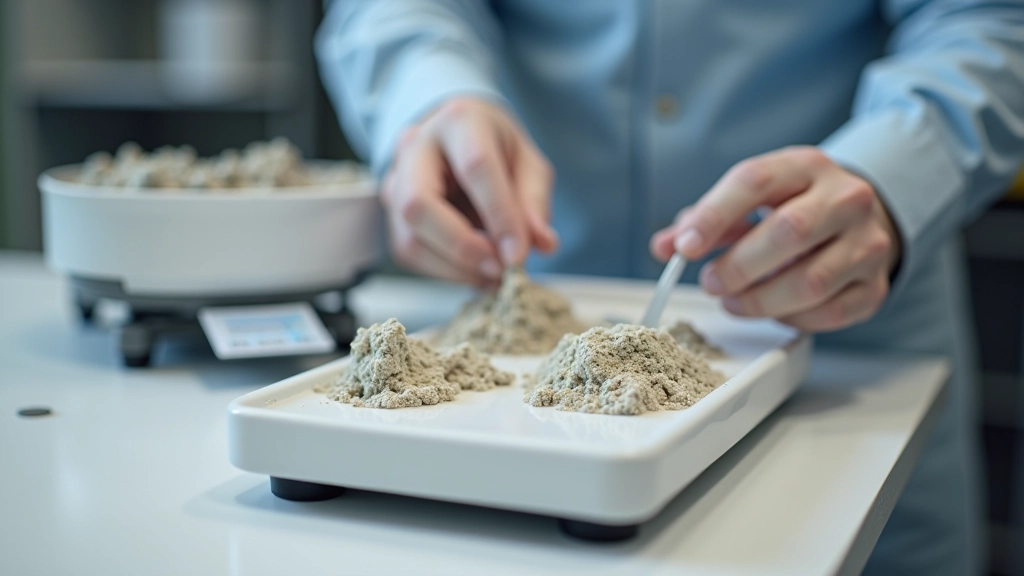
Before you buy 50 kilograms of grout, you should know how it'll perform. There are three practical tests you can do yourself, and they don't require a lab.
Mix small samples of your grout according to manufacturer instructions. Let them cure fully (usually 7 days). Weigh each sample. Soak them in water for 24 hours, then weigh again. The percentage increase is water absorption. Anything under 3% is good for the Baltics. Over 5%? Don't use it outdoors.
This one's more involved but gives real answers. Get your grout samples, fully cured. Soak them in water, then freeze them solid at minus-20°C. Thaw them at room temperature. Repeat this 10 times over a few weeks. Look for cracks, spalling, or color changes. Quality frost-resistant grout shows almost nothing. Poor grout starts falling apart by cycle 4.
The easiest approach: look for grout rated to EN 13888 (European standard for grout performance). Check specifically for frost resistance classification. Your supplier should have a technical data sheet showing water absorption, freeze-thaw performance, and temperature ratings. If they can't provide this, find a different supplier.
We've seen dozens of Pärnu patios fail in winter. Most failures follow predictable patterns. Here's what actually goes wrong and how to prevent it.
You lay the patio in September, think you're done. But grout needs full strength before temperatures drop. Polymer-modified grout takes 7-10 days in normal conditions, longer if it's cold and damp. Epoxy needs even longer. If frost hits while grout is still curing, the ice damage is permanent. We recommend finishing all outdoor grouting work by mid-September, giving you a 6-week safety margin.
Dirt, dust, or old mortar in joints prevents new grout from bonding properly. When water gets into these gaps, ice pressure breaks the grout away from the stone. Joint depth matters too — you need at least 10mm depth for durability. Shallower joints fail faster because there's less material to absorb stress. Clean your joints with compressed air and a brush before grouting. Take 30 extra minutes to do this right.
Even good frost-resistant grout benefits from sealing. A quality sealer (penetrating type, not film-forming) reduces water absorption by another 30-40%. Apply it once the grout has fully cured. This extra layer is cheap insurance — maybe 10-15 euros for a residential patio. The cost of replacing failed grout? 500+ euros and two weeks of your time.
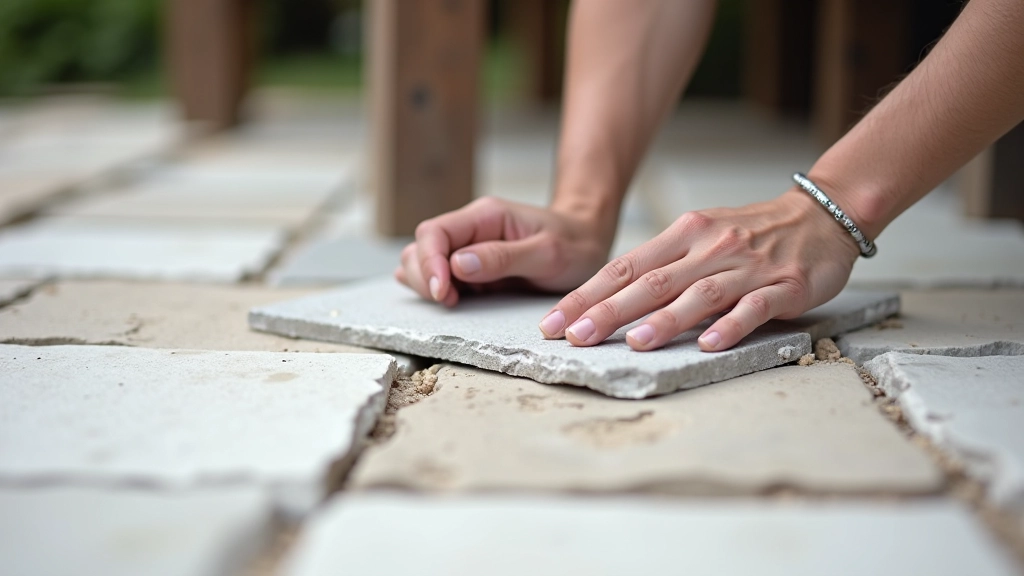
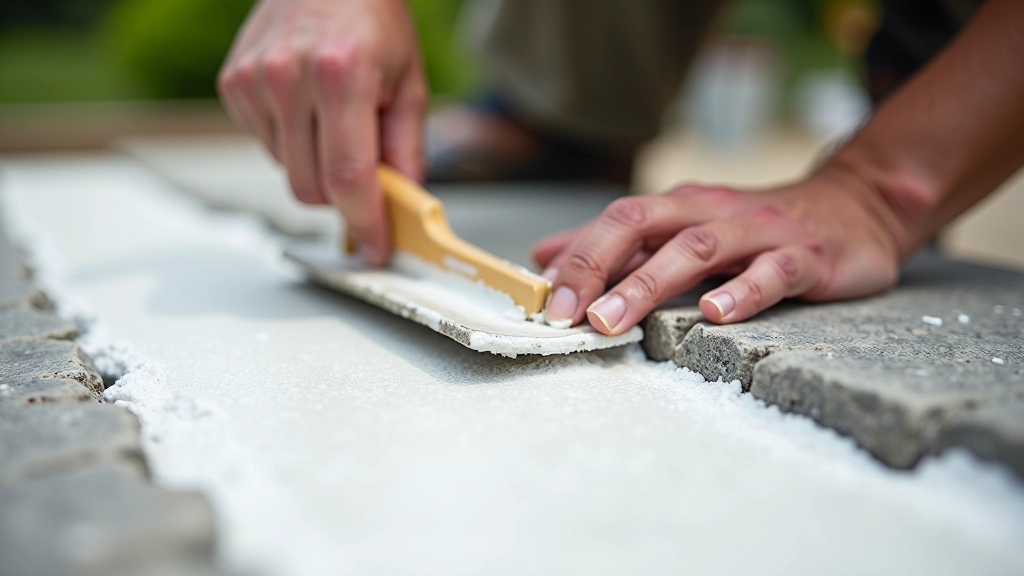
Knowing which grout to use is half the battle. The other half is actually applying it correctly. Here's the process that works in cold climates.
Before You Start
Clean joints completely — compressed air works best. Remove any loose stone dust or old mortar. Dampen the joints slightly (not soaking wet, just damp) so they don't pull moisture from the grout as it cures. This creates a more uniform curing process and prevents weak spots.
Mix Carefully
Follow manufacturer instructions exactly. Temperature matters — if it's below 10°C, you'll need longer curing time. Don't add extra water to make mixing easier; it reduces frost resistance. Mix only what you can use in 30 minutes; working grout hardens fast.
Apply with Pressure
Use a grout float held at a 45-degree angle. Work diagonally across the joints, forcing grout deep into the gaps. You want the joints completely filled with no voids. This takes patience. A typical 20-square-meter patio takes 4-5 hours when you do it properly.
Clean Properly
Wait 24 hours, then clean the stone surface with a damp sponge and clean water. Change the water frequently. Don't use acidic cleaners yet — that comes after full curing. Proper cleanup takes time but prevents stains that become permanent.
Wait for Cure
In normal summer conditions, you're looking at 7-10 days for polymer-modified grout to reach full strength. In spring or fall, add 3-5 days. Epoxy grout takes longer. Don't open the patio to foot traffic or let water on it until curing is complete. One early freeze can ruin everything.
This guide provides educational information about frost-resistant grouting for stone patios in Baltic climates. It's based on standard construction practices and material science principles. Every patio situation is different — site conditions, stone type, existing damage, and local weather patterns all affect outcomes. Always consult with your material supplier's technical documentation and consider local building codes for your specific region. If you're unsure about your project, working with an experienced local contractor is the safest approach. The information here is intended to help you understand the topic, not to replace professional assessment or installation guidance.
The choice between grout types comes down to one question: how long do you want your patio to last? Polymer-modified grout is the practical middle ground for most residential projects — good performance, reasonable cost, and proven durability in Pärnu winters. Epoxy is insurance if you want zero worry. Standard cement grout is false economy.
The testing methods we covered aren't complicated. You can do them in your own space with basic equipment. Knowing your grout's water absorption and freeze-thaw performance means you're not gambling on your patio's future.
Apply it correctly, cure it fully, and seal it once you're done. Those three steps will keep your stone patio looking sharp for decades, even as winter keeps throwing its worst at you.
Step-by-step base preparation that prevents settling and uneven surfaces. Most damage starts underground.
Read Article
Running bond, herringbone, and random patterns explained. Learn which layout works best for your space.
Read Article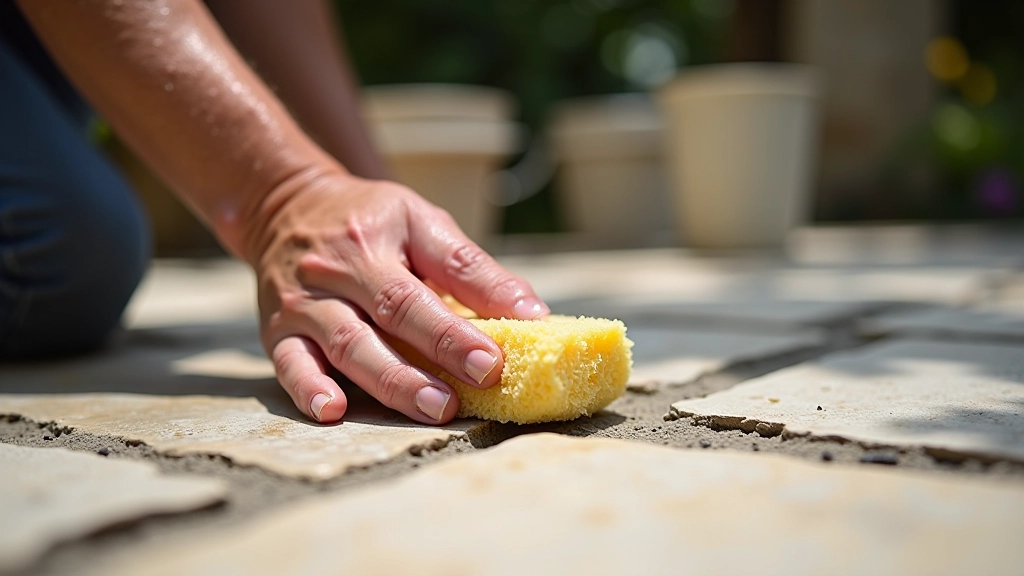
The right tools, timing, and water techniques keep your stones looking pristine throughout the process.
Read Article