
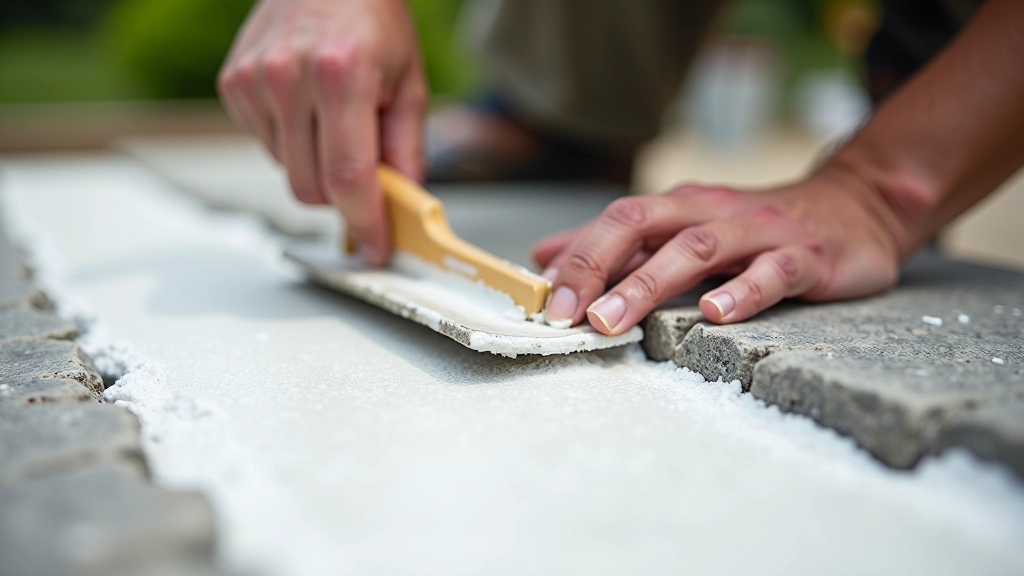
Frost-Resistant Grouting for Baltic Climates
Which grout types actually survive Pärnu winters. Includes testing methods and common mistakes.
Read ArticleStep-by-step base preparation that prevents settling and uneven surfaces. Most DIYers skip this — don't make that mistake.
Author
Editorial Team
Written by the polaribell Editorial Team, focused on clear, practical guidance for stone patio projects in Northern European climates.
You can lay the most beautiful stones in the world, but without a solid foundation underneath, you're setting yourself up for problems. We've seen patios that looked perfect for a few months then started sinking, cracking, or developing uneven spots where water pools. That's almost always a base issue.
The good news? It's not complicated to get it right. You don't need expensive equipment or advanced skills. You just need to understand what you're doing and follow a few key steps. We'll walk you through exactly how to prepare a patio base that'll stay solid for years.
Soil, gravel, sand — each layer has a purpose. Skip one and your whole project suffers.
Water that pools underneath stones causes frost heave in winter. You need it moving away, not sitting.
A gentle slope prevents water pooling. Aim for about 1 inch drop per 10 feet of patio length.
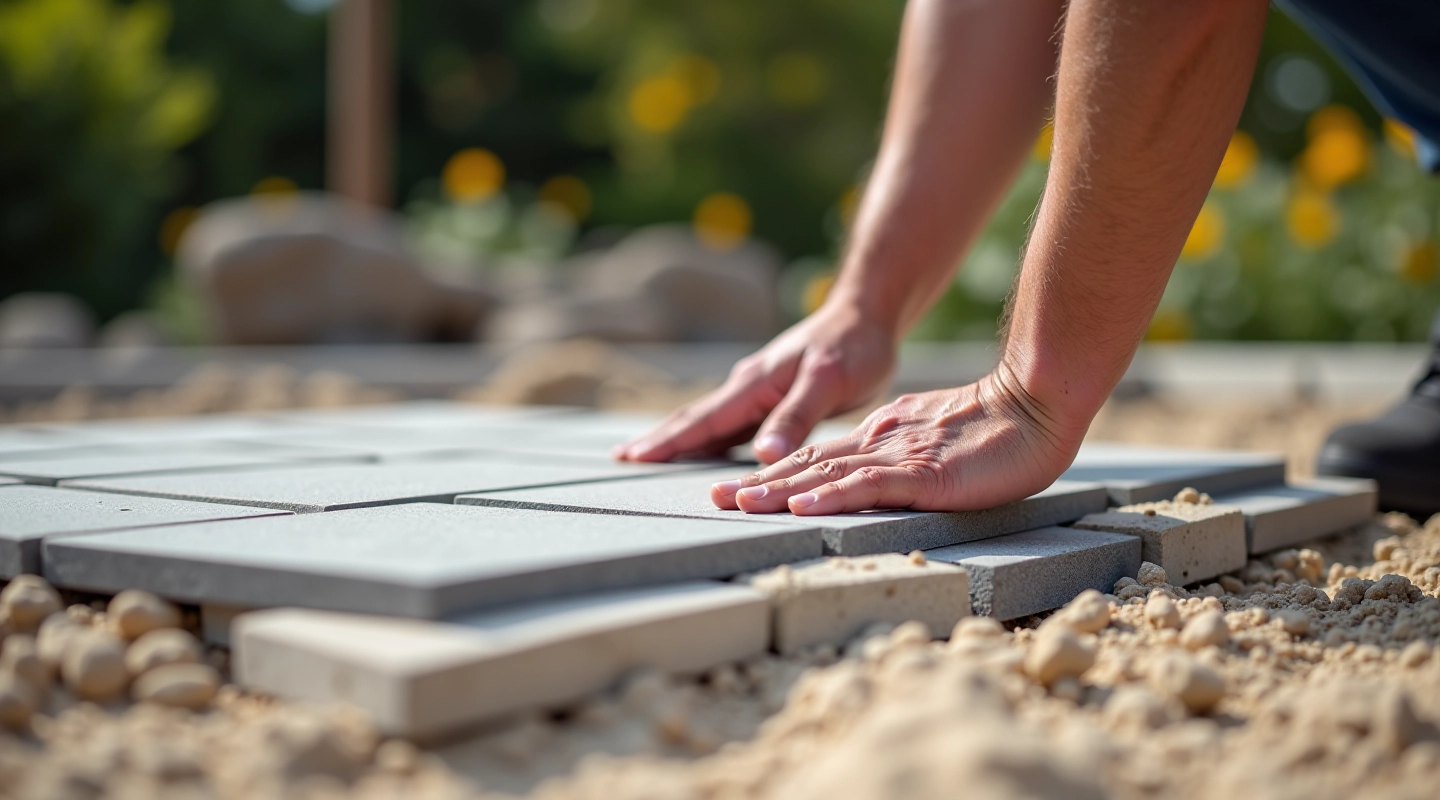
Here's what you're actually going to do, step by step. It sounds like a lot when you read it, but most of this is straightforward digging and spreading materials. You're looking at about 1-2 days of work for a typical patio.
Remove grass, weeds, and any debris. Use string or chalk to mark out your patio boundaries. Make sure you account for your planned slope — the far edge should be about 1 inch lower than the starting edge for every 10 feet.
You'll need about 4-6 inches of base material total. Dig down so that when you add your base layers, the top of the sand will be at the right height for your stones. Most patio stones are about 1-2 inches thick, so plan accordingly.
The base soil is important. If it's loose, your whole patio will move over time. Use a hand tamper or rented plate compactor to firm it up. Go over the entire area multiple times — you want it solid, not just slightly pressed down.
Spread 3-4 inches of coarse gravel (crushed stone works well). This is your drainage layer. It keeps water from pooling directly under your sand and stones. Compact this layer too — don't just spread it and leave it loose.
This is where precision matters. Use a level and straight board to check your slope. You want that gradual tilt away from your house or toward a drainage area. Check multiple directions — corners sometimes get missed.
Add 1-2 inches of coarse sand (mason sand is ideal). Spread it evenly and tamp it down. This is your stone bed. Use a board and level again to maintain your slope and make sure it's even across the whole area.
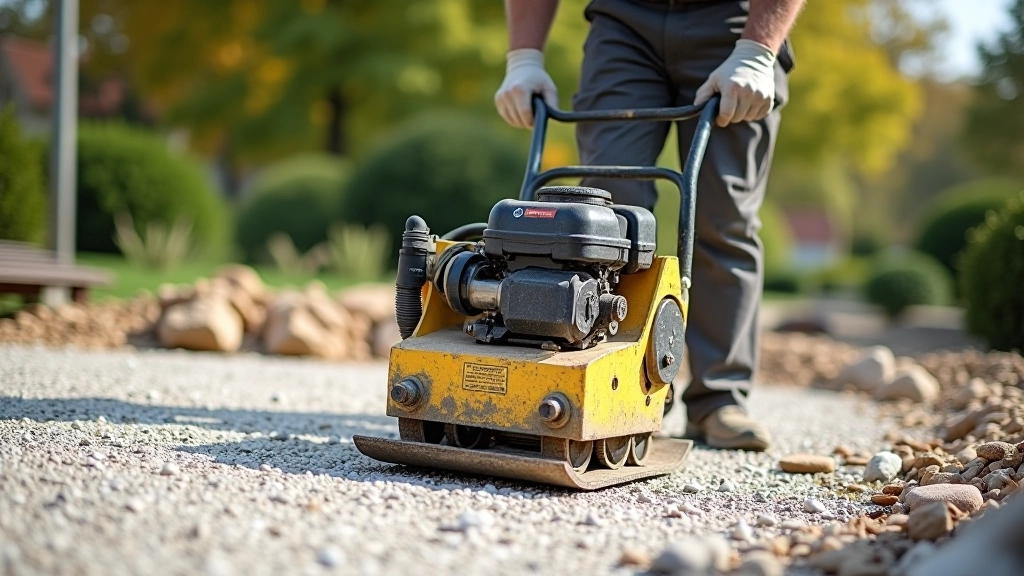
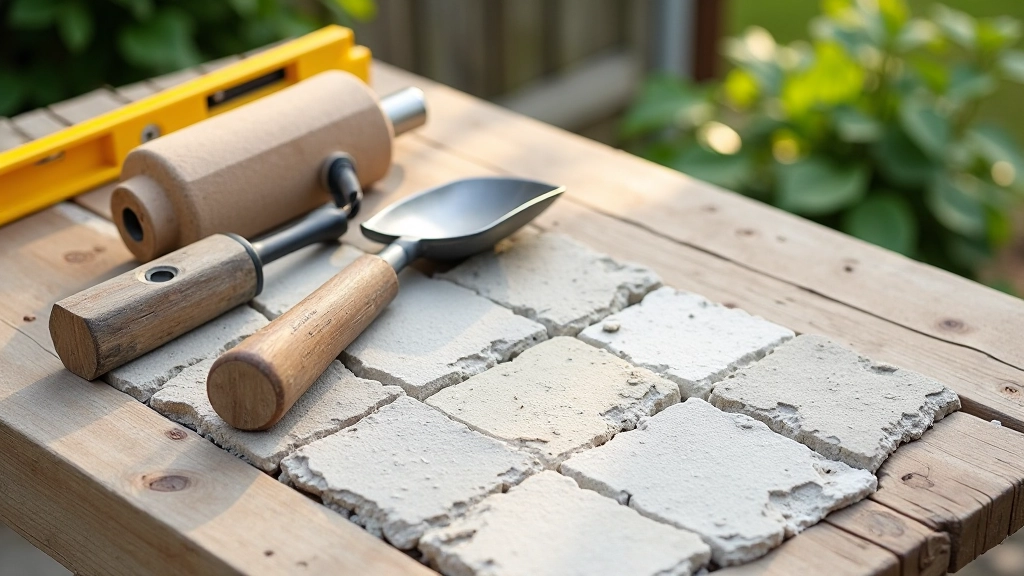
You don't need to buy everything. Most of these you can rent, and honestly, you probably already have some of them at home.
Round for digging, square for spreading materials. You'll use these constantly.
Hand tampers work fine for small areas. Rent a plate compactor for anything larger than 200 square feet — it's worth the money.
Essential for checking your slope. A 2-foot works too, but 4 feet gives you better accuracy across the full patio.
A long board helps you check that your base is even across long distances. You can use a 2x4 or similar.
For spreading gravel and sand evenly. Get a sturdy one — you'll be doing a lot of raking.
Moving gravel and sand around. If you don't have one, you can borrow or rent.
We've seen a lot of patios go wrong during the base phase. Here's what trips people up most often.
This is the #1 issue. You spread materials and think you're done, but loose soil and gravel shift over time. Your patio ends up uneven. Go over everything with your tamper multiple times. It feels like overkill, but it's not.
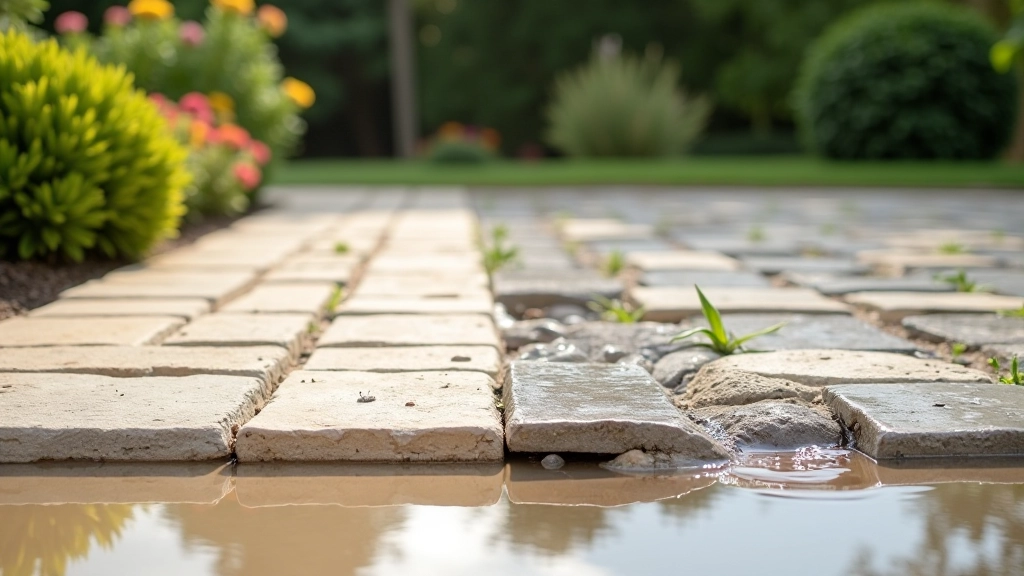
If water can't drain away from under your stones, you'll get frost heave in winter (especially here in Northern Europe). Make sure that gravel layer is doing its job. Water should move down and away, not sit.
A completely flat patio looks level, but water pools in spots. You need that gentle slope — 1 inch per 10 feet is the right amount. Check it with your level as you go.
Play sand or beach sand won't work — it's too fine and shifts easily. Use coarse sand (mason sand or paver sand). It compacts properly and holds your stones steady.
Here's a quick breakdown for a typical 10x12 patio (about 120 square feet). Adjust quantities based on your actual size.
4 cubic yards
Crushed stone works great. This is your drainage layer.
2 cubic yards
Your stone bed. Don't cheap out on this — quality sand makes a difference.
120 square feet
Optional but helpful. It prevents weeds from coming up through your base.
Pro tip: Call local landscaping suppliers. They'll deliver materials at reasonable prices. Spreading it yourself saves money compared to having them do it.
This guide provides general information about patio base preparation techniques. Soil conditions, climate, and local building codes vary significantly across regions. Before starting your project, check local building codes and regulations for your area. If you're working with heavy equipment or uncertain about any aspect of your project, consider consulting with a local landscaping professional. Circumstances vary — what works in one location may need adjustments elsewhere.
Getting the base right takes a bit of extra effort upfront, but it's the difference between a patio that looks great for years and one that starts falling apart after a season or two. You're not rushing through this — you're building something that'll actually last.
The good news is you've got this. Follow the steps, use the right materials, and take time to check your work as you go. A solid base means you can focus on the fun part — laying beautiful stones that'll make your outdoor space somewhere you actually want to spend time.
Continue learning about patio installation and maintenance
Which grout types actually survive Pärnu winters. Includes testing methods and common mistakes.
Read Article
Running bond, herringbone, and random patterns explained. Learn which layout works best.
Read Article
The right tools, timing, and water techniques keep your stones looking pristine.
Read Article