
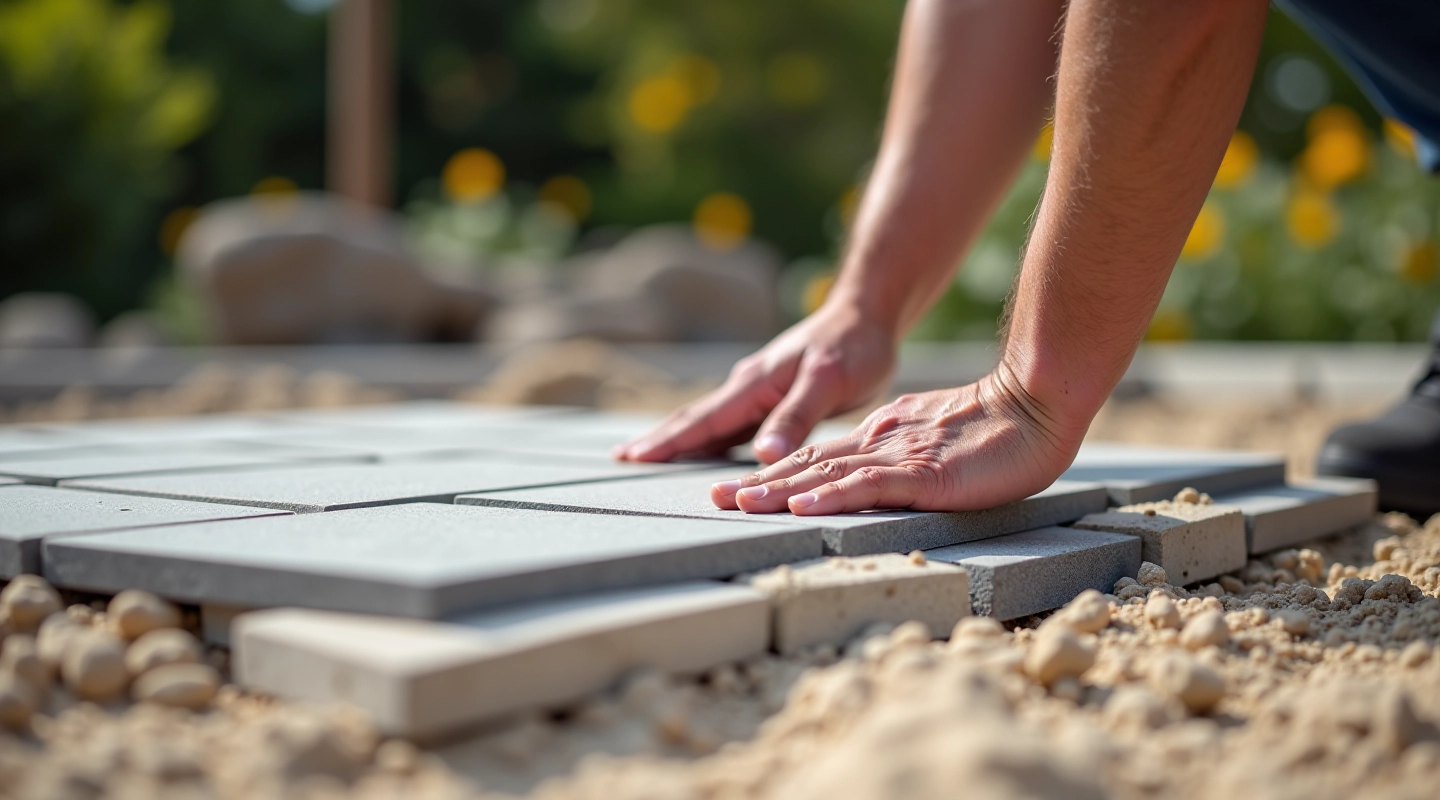
How to Prepare Your Patio Base Correctly
Step-by-step base preparation that prevents settling and uneven surfaces. Most DIY mistakes happen here.
Read GuideThe right tools, timing, and water techniques keep your stones looking pristine. Common cleanup mistakes explained with practical solutions.

Written by
Editorial Team focused on clear, practical guidance for stone patio projects in Northern European climates.
Grout isn't just filler between your stones — it's a protective barrier that prevents water from seeping underneath and destabilizing your entire patio. But here's the thing: most people rush the cleanup phase, which is when the real damage happens. You'll see discoloration, hazy films, or worse, chipped stone edges that can't be repaired.
The techniques we're covering aren't complicated. They just require patience and the right approach. We're talking about timing your cleanup properly, using the correct water techniques, and knowing which tools actually protect your stones instead of scratching them.
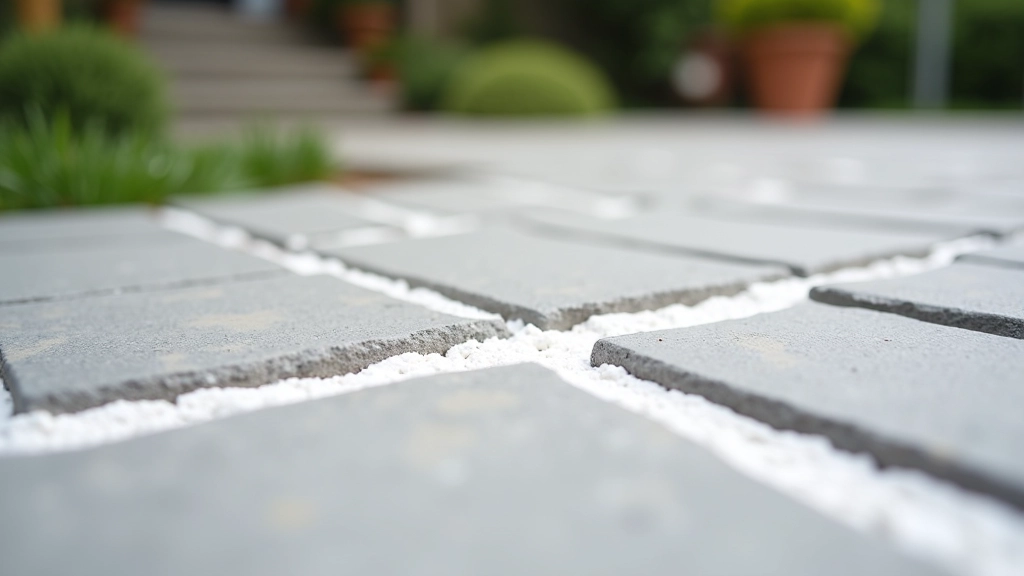
Most cleanup happens between 24 to 48 hours after grouting. Don't start earlier — the grout isn't firm enough and you'll pull material out of the joints. Don't wait longer — it hardens so much that removal becomes brutal on the stone surface.
During this window, you've got a few stages. First, there's the "skin over" phase around 12 hours where grout starts to firm up but still has some give. That's when you might do a light misting with water and a soft sponge to round off the joint edges slightly. Then comes the main cleanup between day 2 and day 3, when you're removing the haze and excess material.
Start cleanup after 24 hours. Finish major cleanup by hour 48. This window prevents damage to both grout and stone.
You're going to use water for cleanup — that's unavoidable. But the way you apply it makes all the difference between pristine stones and damaged ones. Don't spray your patio with a hose. That's too aggressive and will saturate the grout, plus it creates pooling that seeps into joints you haven't cleaned yet.
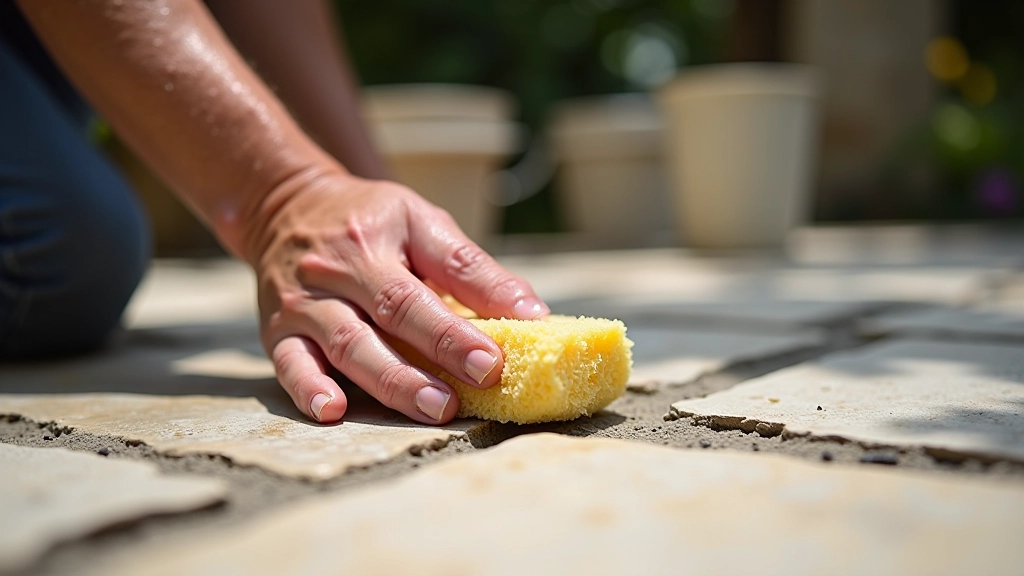
Instead, use a large sponge (we're talking 10-12 inches across, not a kitchen sponge). Dampen it with water from a bucket, squeeze it out so it's moist but not dripping, and use circular motions across the joints. You're essentially blotting the haze away, not scrubbing aggressively. The water should be clean — if it gets dirty, change it. We've seen people keep using the same bucket water and actually grind grit back into the joints.
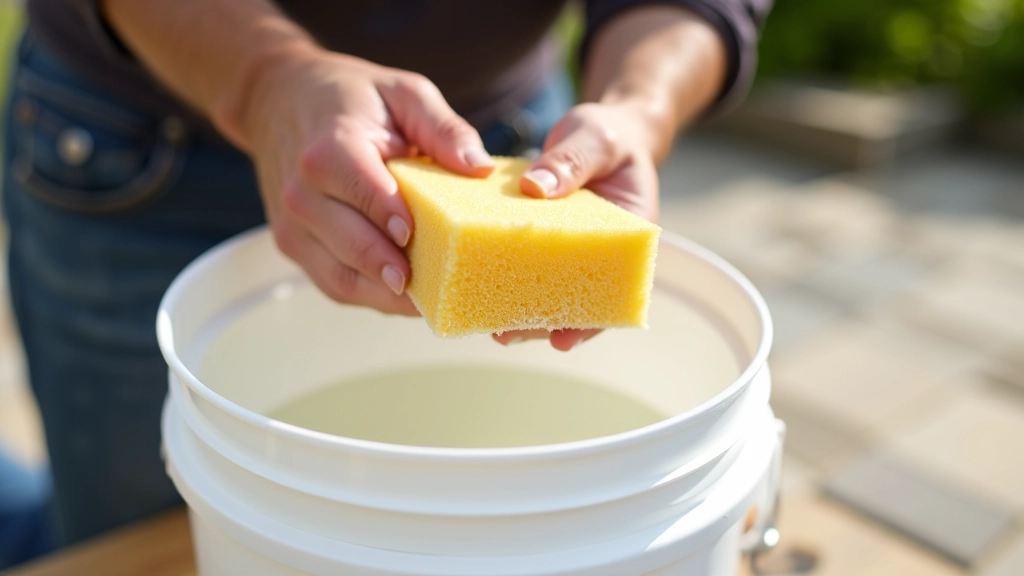
Soft, absorbent, and won't scratch stone. These are your primary cleanup tool. Large cellulose or sea sponges work best.
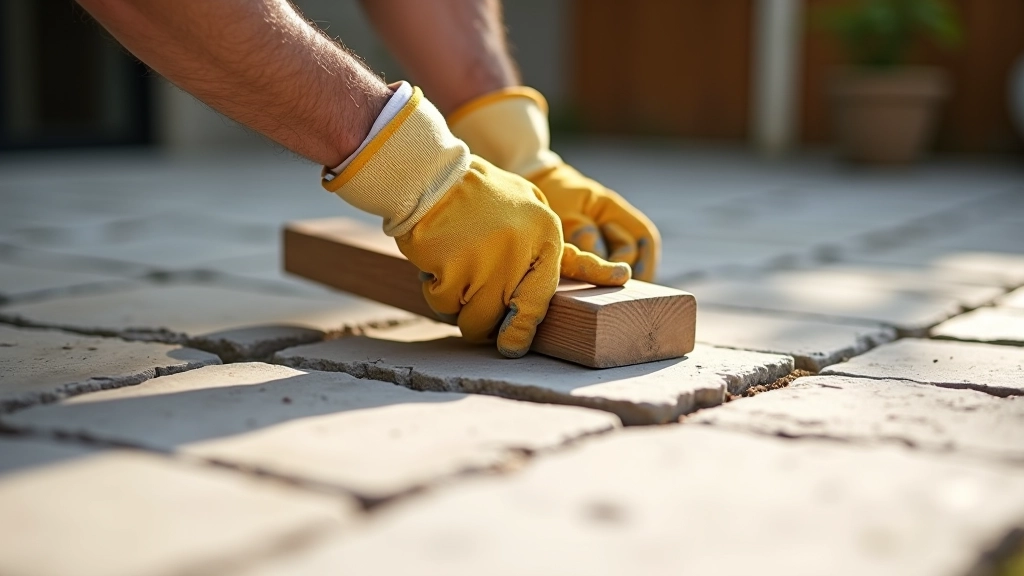
Rubber floats remove excess grout from the surface without harming stone. Wooden floats work too but can absorb moisture.
For very light textured stone only. Use only after the haze has set somewhat, with light circular motions.
Never use these. They'll scratch and damage the stone surface permanently, especially on softer stones like limestone.
Too aggressive on fresh grout. Wait at least 7 days before using one, and even then, use low pressure and wide spray.
Acid damages fresh grout and can etch some stones. Save these for after grout fully cures (usually 7-14 days minimum).
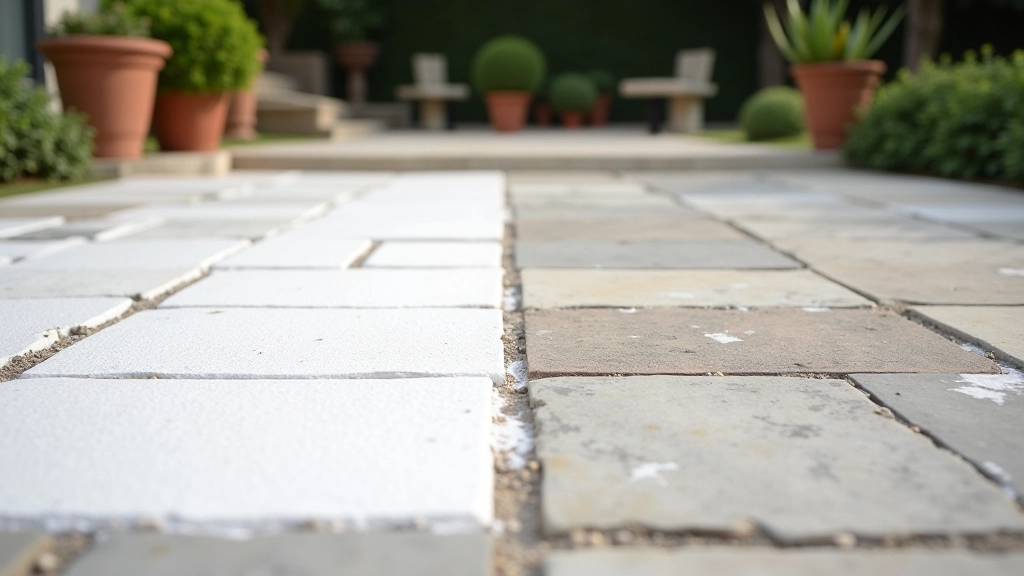
That whitish, dusty film that appears on your stone during grout cleanup? That's grout haze — tiny particles of dried grout that've settled on the stone surface. It's not permanent, but it won't wipe away with a single pass. You've got to be methodical about it.
Start by using your damp sponge with gentle circular motions. Work in 3x3 foot sections, then rinse the sponge and go over the same area again. Don't press hard — you're not trying to scrub it away, just dissolve and lift the haze. It usually takes 2-3 passes per section to get it clear.
If haze remains after the initial cleanup phase, wait another 3-5 days and use a specialized grout haze remover product (available at any stone supplier). These are mild acids designed specifically for this purpose and won't damage properly cured grout or stone.
This guide is informational and covers general best practices for grouting stone patios. Stone types vary widely — marble, granite, limestone, and slate each have different porosity and durability. Always test any cleaning method on an inconspicuous area first. Climate conditions (temperature, humidity) affect grout curing time, so adjust timing based on your local weather. If you're uncertain about your specific stone type or have concerns about damage, consult with a professional stone contractor before proceeding.
The truth is, you won't see the real results of your grouting work until the cleanup is completely done. That's when the joints pop, the stone shows its true color, and you realize all that careful work was worth it. Don't rush this phase. A few extra hours of careful cleanup now saves you weeks of dealing with stained or damaged stone later.
Remember: soft sponges, cool water, frequent water changes, and circular motions. That's the whole system. It sounds simple because it is — but it's also incredibly easy to mess up if you're not paying attention. You've got this.
Step-by-step base preparation that prevents settling and uneven surfaces. Most DIY mistakes happen here.
Read Guide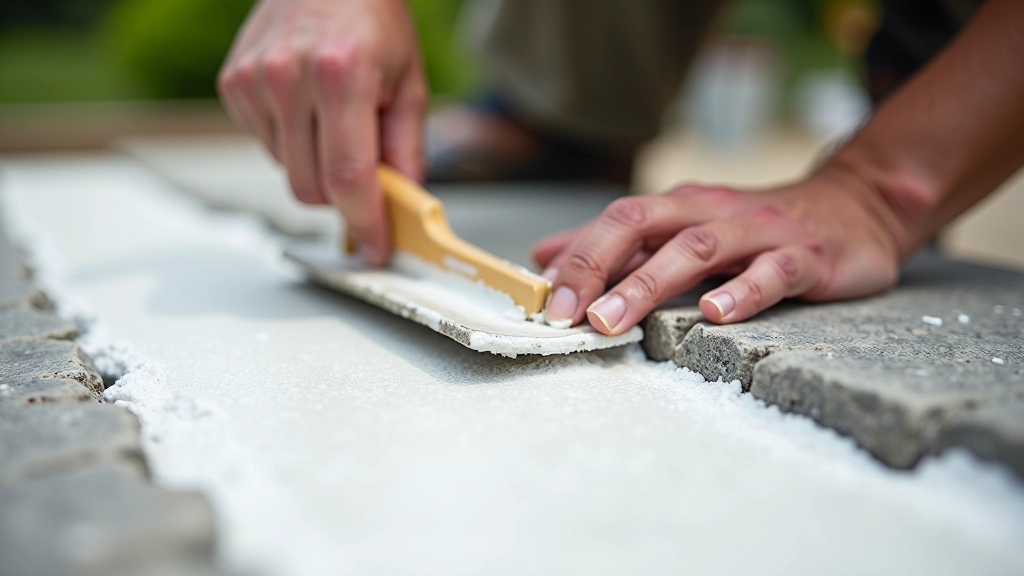
Which grout types actually survive Pärnu winters. Includes testing methods and common failures.
Read Guide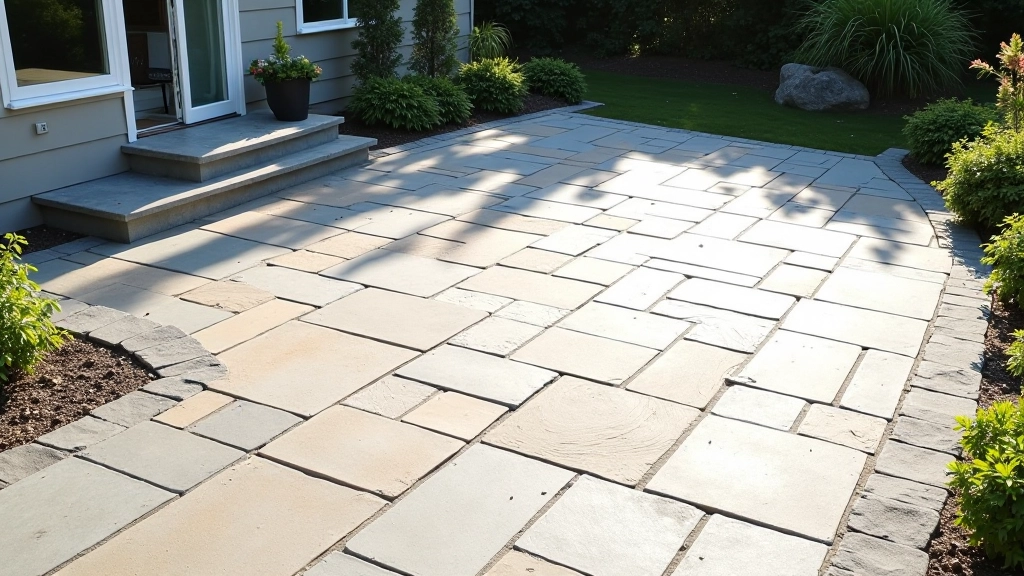
Running bond, herringbone, and random patterns explained. Learn which layout works best for your space.
Read Guide